
Mounting for Warmth: Installation Requirements for Wall-Mounted Patio Heaters
Want patio warmth without tripping over heaters? Wall-mounted patio heaters need sturdy walls, 6–8 ft height, 3 ft clearance, and safe power. Easy, right? Our Outdoor Heating and Firepits Collection helps you nail the setup—read on to avoid rookie mistakes and toast your toes all season long!
Setting Up Your Fixed Outdoor Heating Solution
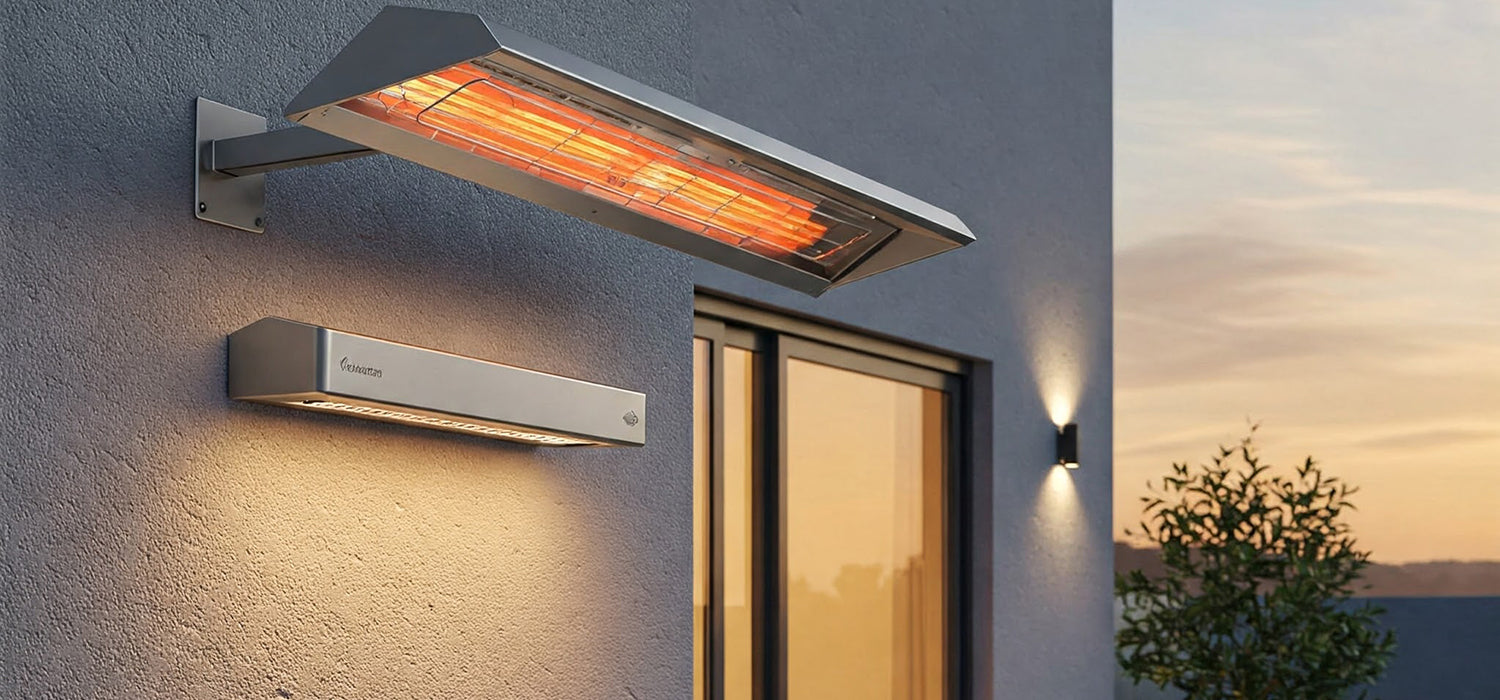
Wall-mounted patio heaters are a brilliant way to stretch out summer evenings, even when the temperature dips. No need to huddle under blankets or dash indoors at the first sign of a chill.
But here’s the thing — getting the installation right is vital. Not just for safety, but to make sure you’re getting maximum warmth exactly where you want it.
Electric and gas models each have their own quirks. Whichever type you’re installing, you’ll need a sturdy wall, safe clearances and proper power or gas supply to get it working smoothly.
Electrical Requirements (for Electric Models)
Let’s start with electric heaters. They’re popular for good reason — easy to run, clean, and no gas bottles cluttering the patio.
That said, you can’t just plug one into your fairy light socket and hope for the best.
Dedicated Circuits
Most electric patio heaters draw a fair bit of power — typically between 1500 to 3000 watts. That’s more than your average kettle.
It’s best to give your heater its own dedicated circuit to avoid tripping breakers or causing overloads. Imagine the lights cutting out just as you’re serving dessert outdoors — awkward.
If you’re unsure, chat to an electrician. They’ll confirm if your circuit can handle the load.
Outdoor-Rated Wiring and Outlets
Because your heater’s braving the elements, all wiring and sockets must be suitable for outdoor use. No shortcuts here.
Look for:
-
Weatherproof sockets (an IP rating of at least IP44 is a good start)
-
RCD (Residual Current Device) protection to cut off power quickly in case of faults
-
Outdoor-rated extension leads (though hardwiring is usually safer and tidier)
Professional Installation Recommendations
If you’re going for a hardwired model (which many higher-powered heaters require), it’s wise to bring in a professional.
They’ll make sure everything meets UK electrical safety standards and save you the headache of deciphering wiring diagrams on a Sunday morning.
Gas Line Requirements (for Natural Gas Models)
If you fancy a natural gas patio heater, you’re in for consistent, powerful heat — no faffing about swapping propane bottles.
But fair warning: dealing with gas is not the time to channel your inner DIY guru.
Professional Plumber Installation
Connecting to a natural gas line must be done by a qualified Gas Safe registered engineer. End of story.
They’ll safely run and connect the line, keeping everything up to code and leak-free. Trying to cut corners here can be downright dangerous (and illegal).
Ensuring Proper Sealing and Connections
Your installer should test every joint and seal thoroughly. They’ll likely use a special gas-rated tape or paste to make sure connections are airtight.
Ask them to perform a pressure test once everything’s hooked up — peace of mind is priceless when it comes to gas.
Structural Mounting Considerations
A heater is only as good as the wall it hangs on. And no one wants their shiny new heater tumbling down mid-barbeque.
Identifying Suitable Wall Materials
You want a surface that can support the heater’s weight without a wobble. Solid brick, masonry, or timber-framed walls are perfect candidates.
Avoid weak surfaces like hollow plasterboard, thin cladding or vinyl siding. They simply won’t hold up.
Using Appropriate Mounting Brackets and Hardware
Stick with the brackets and fixings supplied by the manufacturer. They’re designed to handle the weight and heat output of the specific model.
If you’re drilling into brick or concrete, use heavy-duty wall plugs or sleeve anchors. Stainless steel or galvanised bolts are best — they won’t rust in the rain.
Ensuring Secure and Stable Installation
Once mounted, give the heater a gentle shake. It should feel rock solid.
If there’s any wiggle, check your fixings and wall anchors. You may need reinforcement plates or extra washers to spread the load better.
Clearance Requirements
Now that your heater’s firmly in place, it needs room to breathe. This prevents overheating and keeps everything safe.
Distance from Ceiling and Overhangs
Leave at least 90 cm (around 3 feet) between the top of the heater and any ceiling, pergola or overhang.
This space allows heat to dissipate and avoids scorching nearby surfaces. Plus, it reduces the risk of fire.
Distance from Adjacent Walls and Windows
The same goes for the sides — keep a minimum of 90 cm clearance from walls, windows, furniture and plants.
You don’t want your window panes warping or your potted geraniums crisping up after all.
Angle of Installation for Optimal Heat Distribution
Most wall-mounted heaters work best when tilted downwards slightly — usually between 30 and 45 degrees.
This angle casts heat over your seating area, rather than straight out into the cool night air. Play around with the tilt before tightening the bolts to find your sweet spot.
Final Thought
By getting your installation spot-on, you’re setting yourself up for long evenings of warm, hassle-free entertaining. No last-minute panics or chilly guests.
So whether you’re eyeing up something sleek from our Outdoor Heating and Firepits Collection or simply upgrading your garden setup, a safe and well-installed patio heater is the cherry on top of your outdoor space.
Would you like me to also provide SEO-friendly title tags, meta descriptions and internal link suggestions to finish this piece off for publishing?
Other articles our customers have found useful:
- The Great Debate: Pros and Cons of Electric vs. Gas Patio Heaters
- Finding the Sweet Spot: Determining the Right BTU Output for Your Patio Heater
- Safety First: Using Patio Heaters Near Wooden Decks and Combustible Materials
- Mounting for Warmth: Installation Requirements for Wall-Mounted Patio Heaters
- Warming Your Space Sustainably: Eco-Friendly Patio Heater Options
- How Weather Affects Your Patio Heater: Stay Toasty Whatever the Forecast
- Getting Back to Warm: Troubleshooting Common Patio Heater Problems
- Warming Your Pergola: Suitable Heater Options for Covered Spaces